After an aborted attempt at the Rimpfischhorn due to conditions which were more similar to Scottish winter due to hill fog, a freezing wind and plenty of fresh snow with some dangerous windslab. We arrived back in the valley too late to start a long walk in to a hut which left our options fairly limited. In order to make the most of a brilliant weather window we decided to head up to the Hohsaas hut with the intention of having a look at the North Ridge of the Weissmies, although this was potentially a bit more optimistic due to the amount of snow around and not having any condition reports from the ridge.
We woke up to a fantastic morning with cold air and a clear sky, this enabled us to make very quick progress up to the Lagginjoch. After the approaches to the Rimpfischhorn and the Aiguille d’Argentière it was great to have a short approach to a route, rather than a long slog.
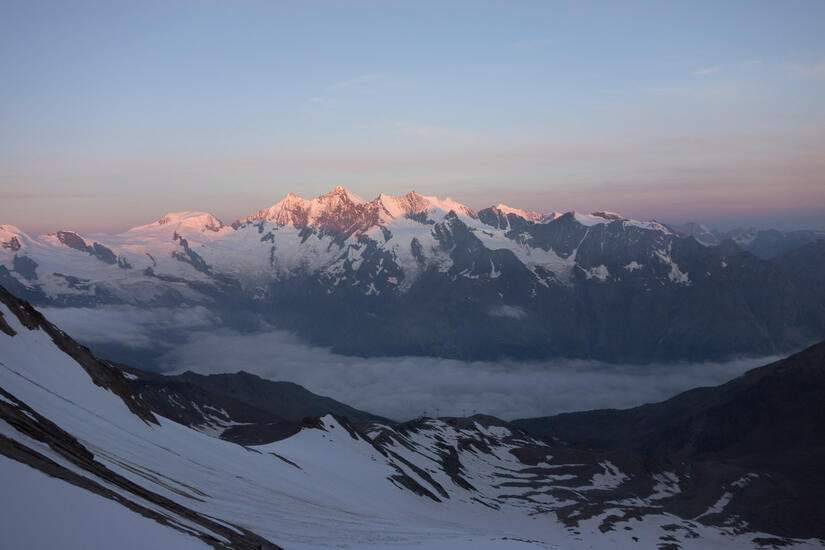
The sunrise over Italy was fantastic and provided some great light over the Saas mountains. It was a freezing morning and we initially started climbing in our belay jackets until the sun rose and provided some warmth.
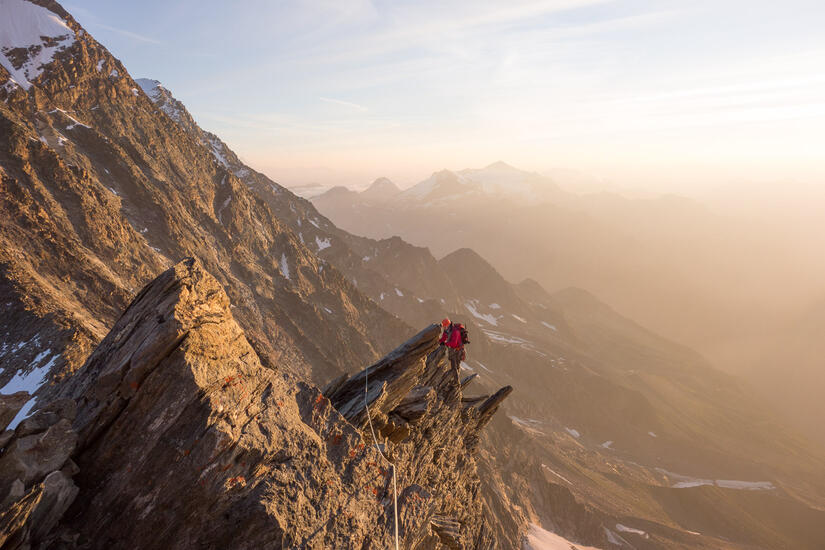
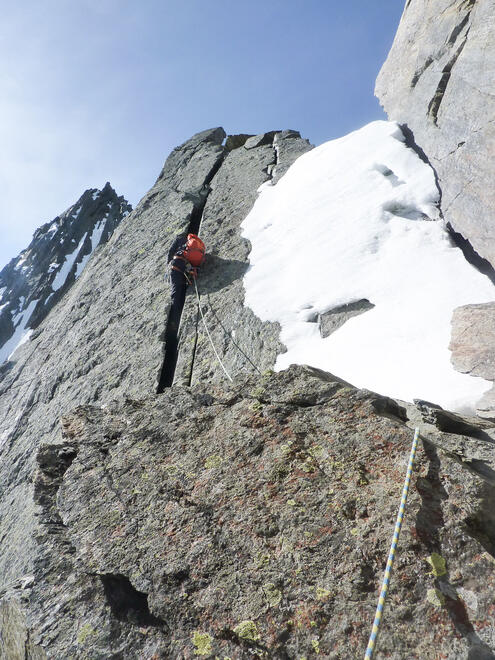
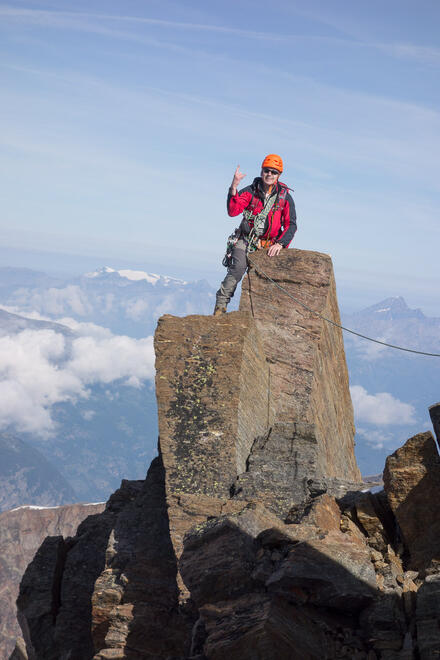
The initial section of ridge involved some fun scrambling with some brilliant exposure, although there was a signifiant temperature variation depending on if you were in the sun. We soon arrived at the crux, which was a grade IV section up the Grande Dalle, the climbing was fairly straightforward and was well protected by a mixture of spikes and very unnecessary bolts. After the crux we soon arrived at the first top of pt3722, we were pleased to discover that we were well inside book time at this point, which was nice after our experience on the Flèche Rousse.
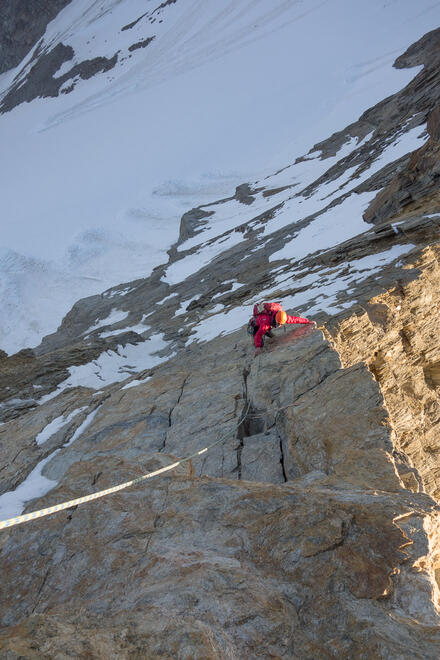
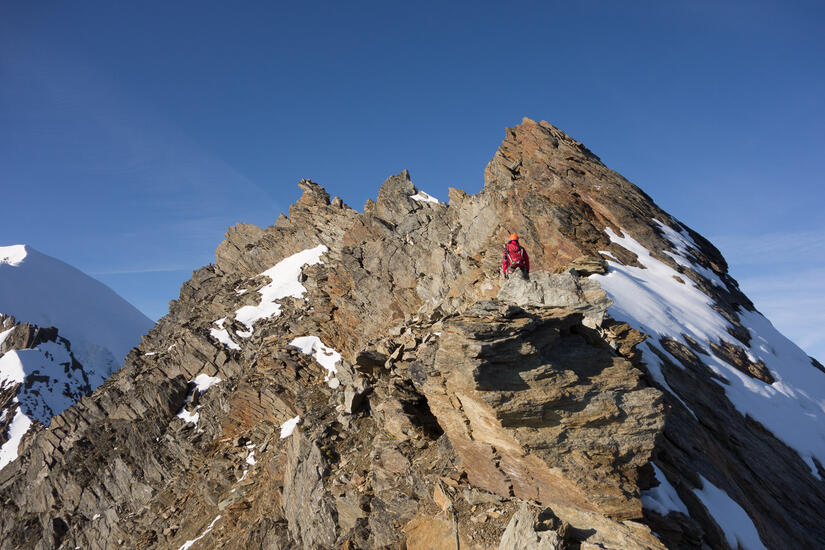
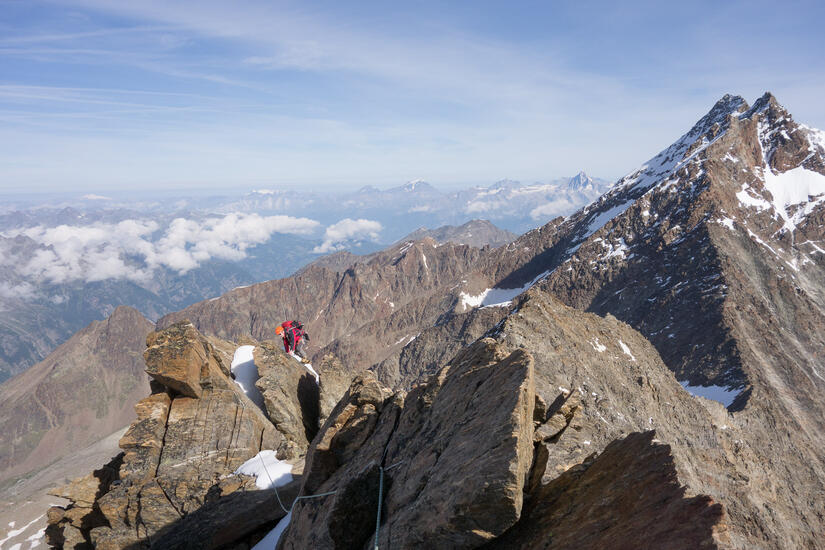
The next section involved a descent to a col, before a section with a series of towers. The second tower had to be turned on it’s left in order to avoid an unnecessary abseil, however while climbing it was hard to tell which climb was the first tower. When we finally arrived at the second tower it was clear that we had to go left thanks to some visible abseil tat. Due to some extra snow on the ridge the climb back up to the crest involved an unprotected off width chimney which felt exciting on lead.
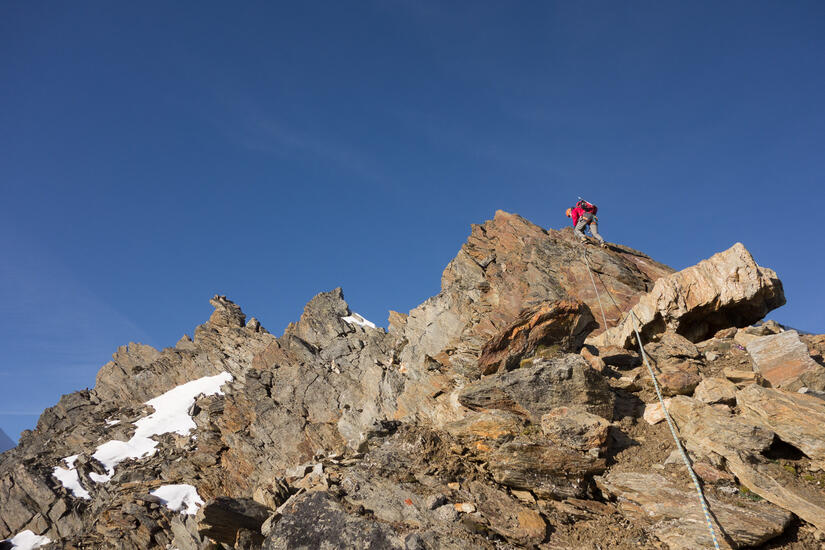
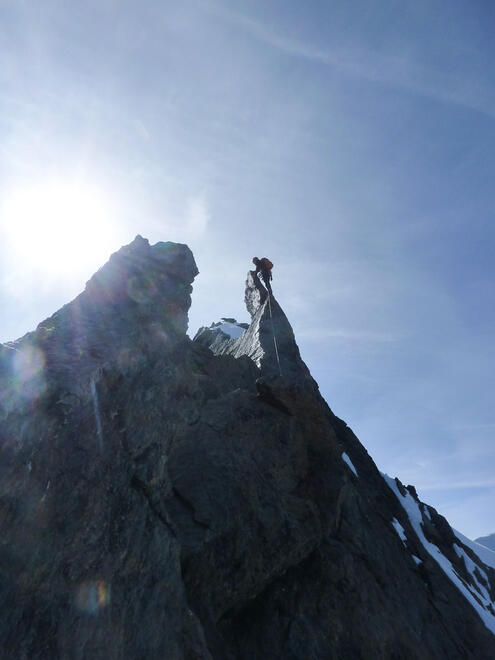
The ridge carried on with excellent climbing in some very exposed positions, with a few interesting à cheval manoeuvres were necessary over the final towers. After 4 hours on the ridge we approached the second crux which was described as a delicate pitch of IV- up the final slim tower, this went quickly while still moving together and we were soon at the final top before the ridge turned more mixed for the final ascent up to the summit.
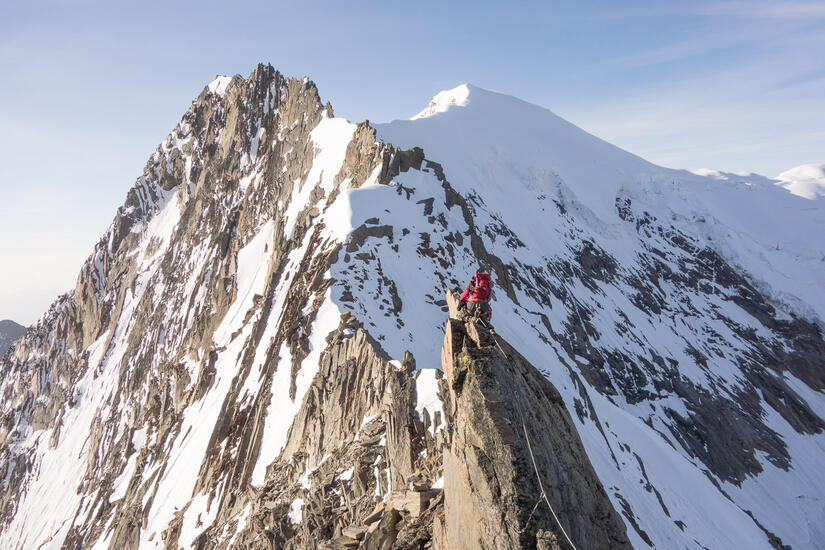


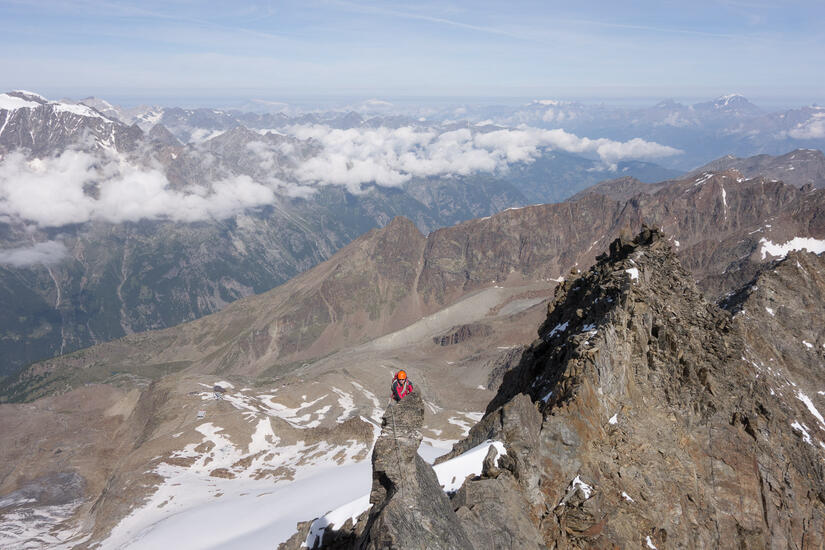
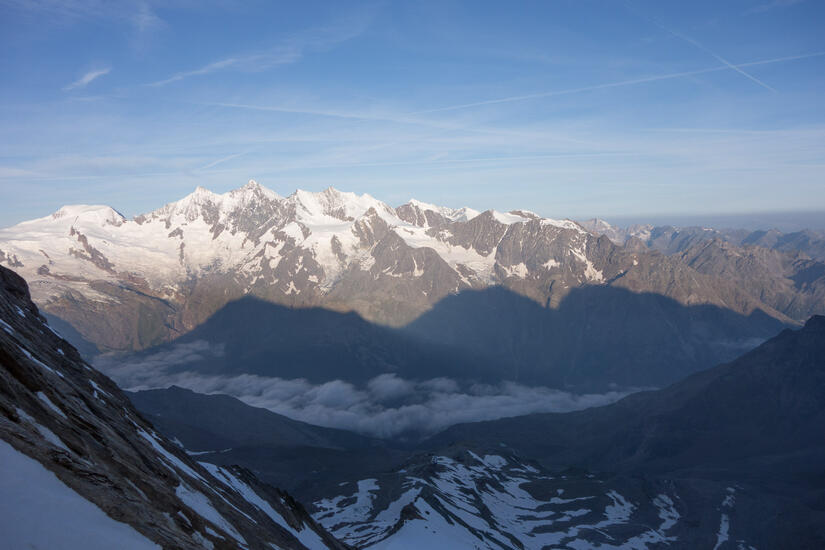
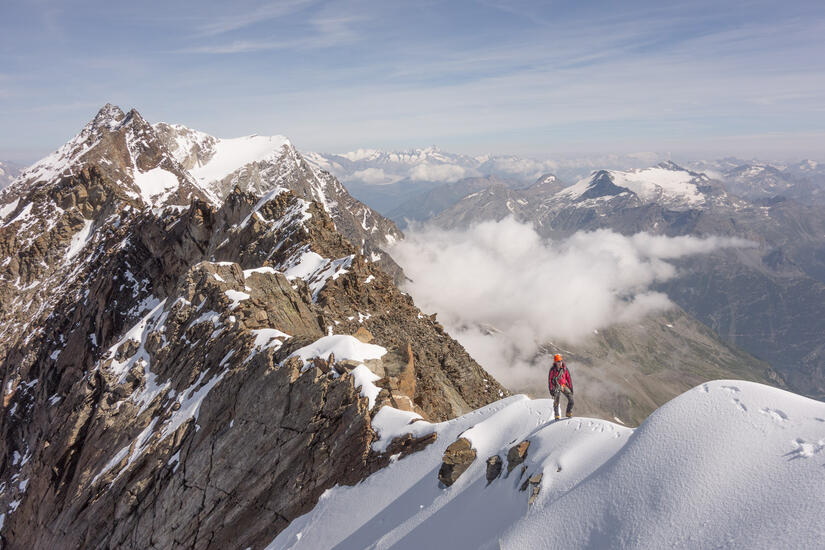
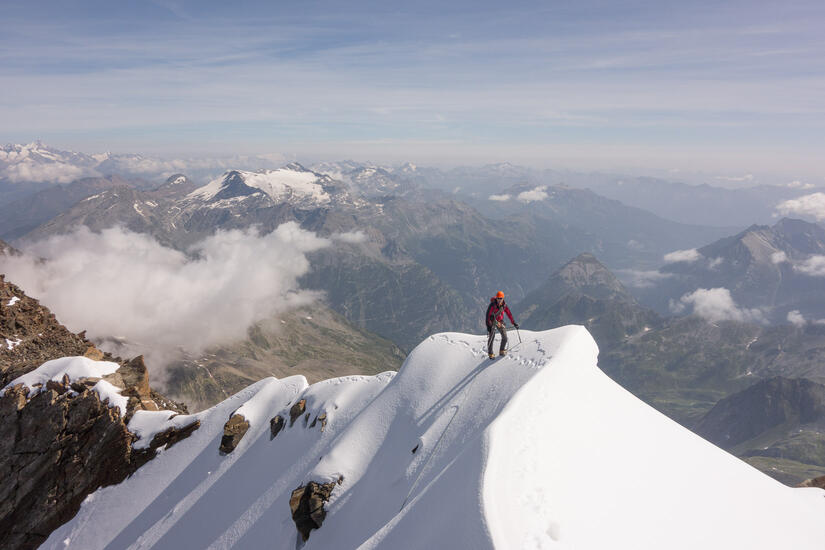
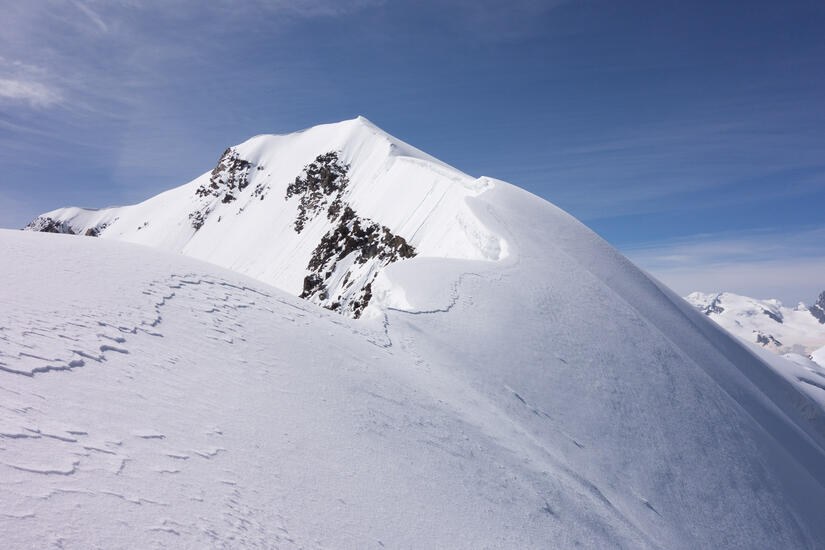
After a slightly frustrating mixed section due to having to climb on the sunny side in soft snow too often, we reached the final snow crest to the summit, which looked just fantastic as it had massive cornices and no tracks up it. The exposure on this crest was mind-blowing as to the right the snow just dropped away straight down to the descent glacier. By this point it was clear that we were also the first people to climb the route in a while, due to there being no tracks in any of the soft snow on the mixed section and no sign of footprints on the final snow ridge.
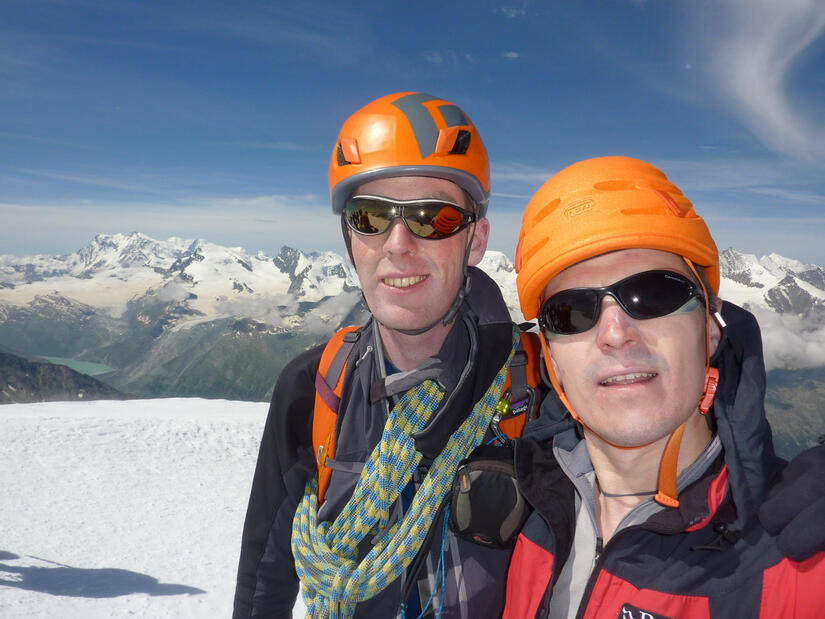
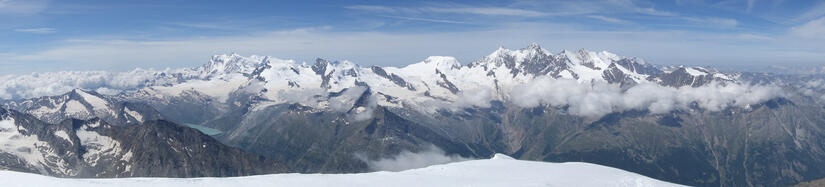
We soon arrived at the top, to be greeted by the crowds of people who were heading up the regular route. The view from the top was fantastic, however we didn’t hang around to enjoy it much due to the cold wind. We made a quick descent down the regular route and were back at the Hohsaas hut in an hour, where we enjoyed a nice cold beer.

The route was fantastic and is certainly the best climb I have done so far in the alps, it was just a shame I have climbed the Weissmies twice before. It was great to be on a route with a relatively short approach, to a really long rock ridge with really sustained scrambling with a number of harder sections. After our experience on the Flèche Rousse it was great to climb a route which was in condition and this meant that we were able to move within book time which provides good confidence for some of the more remote and longer routes on our ticklish.
Comments